How to test an ATV battery with a multimeter
Test an ATV battery by checking its condition, rested voltage, cranking behavior and charging output. Separate low charge from a failed battery or cable fault.
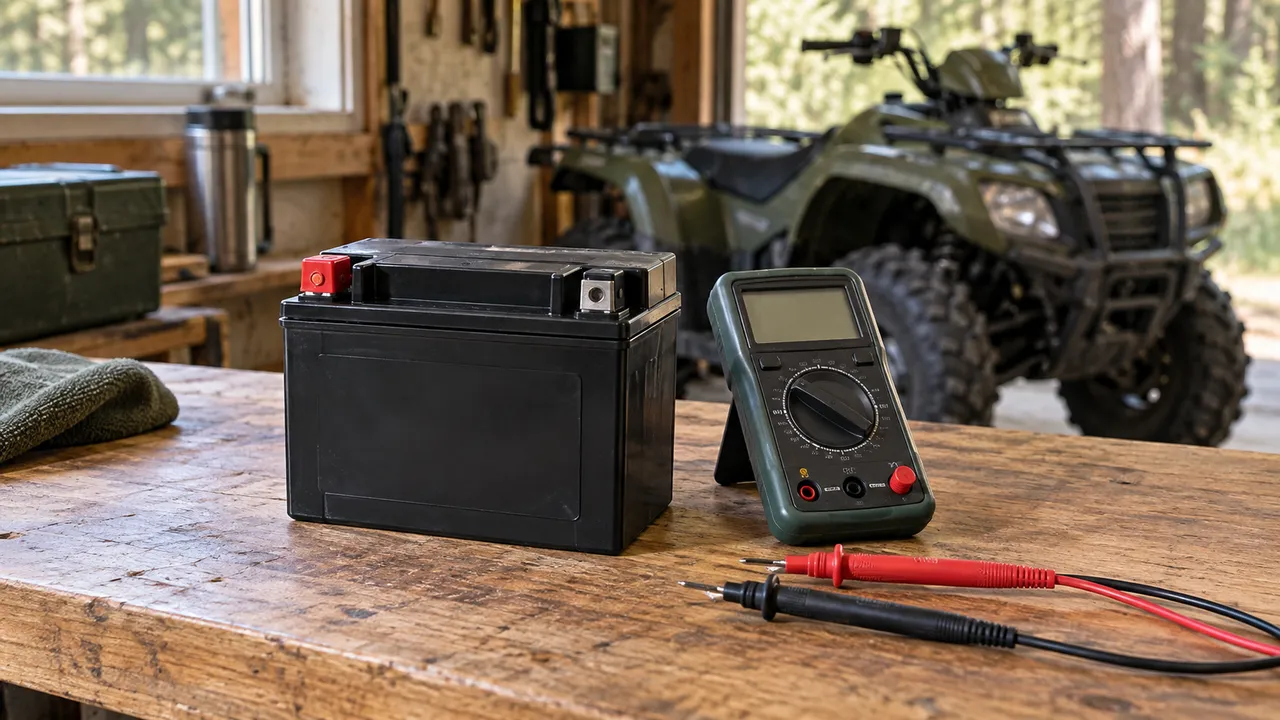
To test an ATV battery, inspect it, measure rested DC voltage at its terminals, then check its response during starting. Recharge a low battery with the correct charger before judging its health. A battery can show an acceptable resting voltage and still fail under load, so persistent starting trouble calls for a battery and cable test.
Identify the battery before testing it
Read the battery label and identify its voltage, chemistry and part number. A conventional flooded battery, AGM battery and lithium starting battery do not share one voltage-to-charge chart. Use the product instructions and your ATV service manual to find the correct test conditions.
Write down the actual symptom: slow cranking, one click, rapid clicking, a blank display or normal cranking without starting. These observations help separate a power problem from an ignition or fuel problem. Record whether it happens cold, after riding or after several days parked.
Inspect the case, battery terminals and cables
Park securely and turn the ignition off. Inspect the case and hold-down, then check both battery connections and the accessible ground connection. A loose fastener, damaged cable or corrosion can prevent reliable starting even when the battery itself is sound.
A cracked, leaking or distorted case needs attention before electrical testing. Avoid charging a damaged battery. For terminal cleaning or removal, follow the manual’s cable sequence and torque specification. Keep a metal tool from bridging a terminal to the frame or the opposite terminal.
Measure resting battery voltage with a multimeter
Use an intact digital multimeter and leads. Select DC volts with a range suitable for the battery. Connect the black lead to COM and the red lead to the meter’s voltage socket. Touch black to the negative battery terminal and red to positive, keeping the probes from touching each other.
Measure at the battery terminals with the engine, lights and charger off. Recent charging can leave a temporarily elevated surface charge; allow the battery to stabilize for the interval its maker specifies. Record the reading and temperature, and compare it with the relevant battery chart.
If charge is low, recharge using the approved profile and repeat the rested measurement. This avoids condemning a healthy but discharged battery. Resting voltage indicates state of charge more readily than usable starting capacity.
Check voltage while the starter cranks
If access permits safe measurement, secure the probes away from moving parts and monitor terminal voltage during a brief normal start attempt. Use the manual’s maximum starter duration and rest interval. Do not continue cranking just to obtain a number.
Compare the result with a test specification for the battery, temperature and vehicle. A pronounced drop with slow cranking warrants further checks, but does not by itself distinguish a weak battery from excessive starter demand. A technician can test cable voltage drop under load and battery performance separately.
Request a load test or conductance test appropriate to the battery chemistry and rating. Entering the wrong battery type or rating into a tester can produce a misleading verdict. Keep the test receipt alongside your own measurements.
| Observation | What to check next |
|---|---|
| Low rested voltage | Recharge correctly, allow stabilization and retest. |
| Rested voltage acceptable, slow cranking | Battery load performance, cable connections and starter demand. |
| Normal cranking, engine will not start | Starting procedure, interlocks, fuel and ignition diagnosis. |
| Starts after charging, later goes flat | Charging output and key-off electrical drain. |
Test the charging system after the battery passes
A passing battery still needs a working vehicle charging system. Measure running voltage at the manual’s specified engine speed and electrical load, with the battery connected. Compare with the vehicle limits and any replacement battery requirements.
Record both engine-off and running measurements under repeatable conditions. An idle reading alone may not establish a charging fault. If the measured output is outside specification, investigate wiring and charging components before buying another battery.
Decide whether to replace the battery or fix another fault
Replace a damaged battery or one that fails a properly performed test after appropriate charging. If the battery passes, follow the evidence toward connections, the starter circuit, charging output or a parked electrical drain.
Choose the replacement for the exact model, year and trim. Correct dimensions and terminals matter alongside voltage and starting rating. Save the old part number and installation photograph so the next purchase is straightforward.
Frequently asked questions
Can a multimeter prove an ATV battery is good?
A multimeter measures voltage, but a resting reading alone cannot prove starting capacity. Combine the reading with a suitable battery performance test when the ATV still cranks poorly.
Should I charge the battery before testing it?
Inspect it first. If it is undamaged but discharged, use the approved charger and retest after the specified stabilization interval. A low state of charge can otherwise distort the result.
Does clicking mean the battery is bad?
Clicking can result from low charge, poor connections or another starter-circuit fault. Check the battery and cables before choosing a replacement.
Can I test a lithium ATV battery the same way as AGM?
Basic DC voltage measurement is similar, but the interpretation and approved performance test differ. Use the lithium battery maker’s procedures, including any protection-system recovery instructions.
Bring it back to your ride
Find your ATV in the catalog, browse battery size references or explore the other field guides.